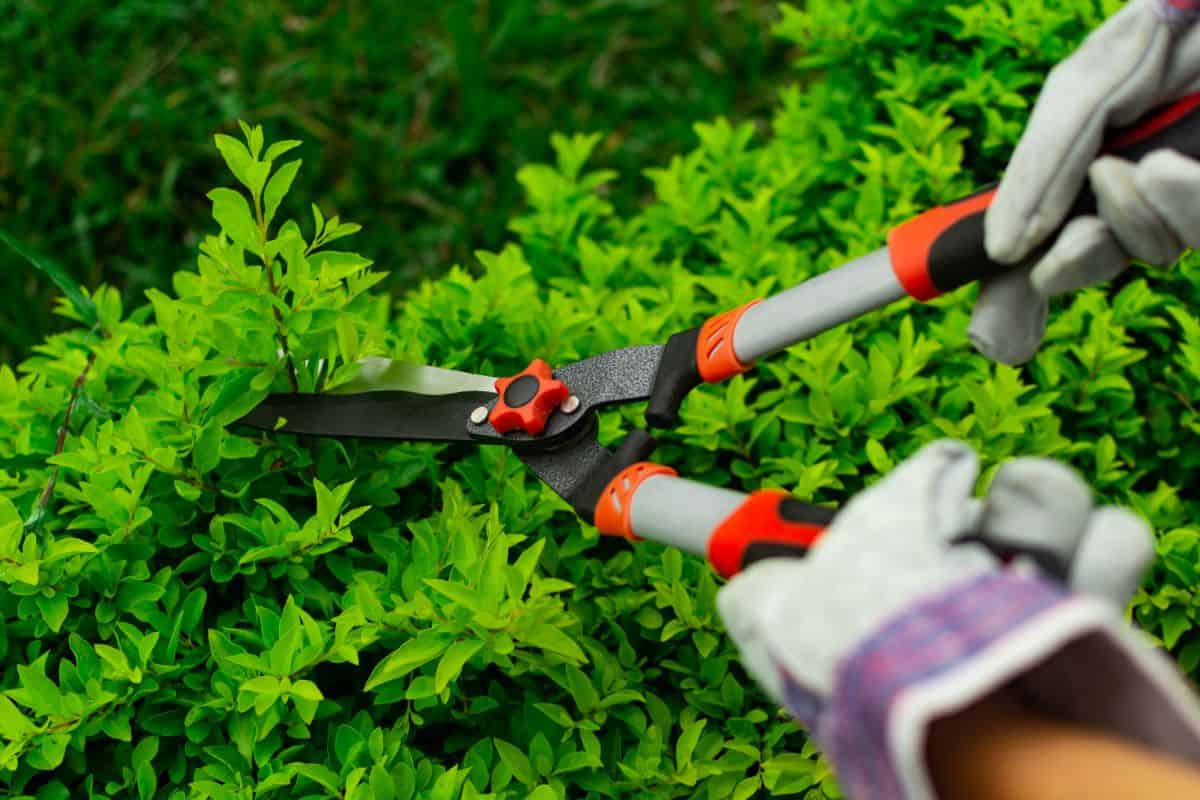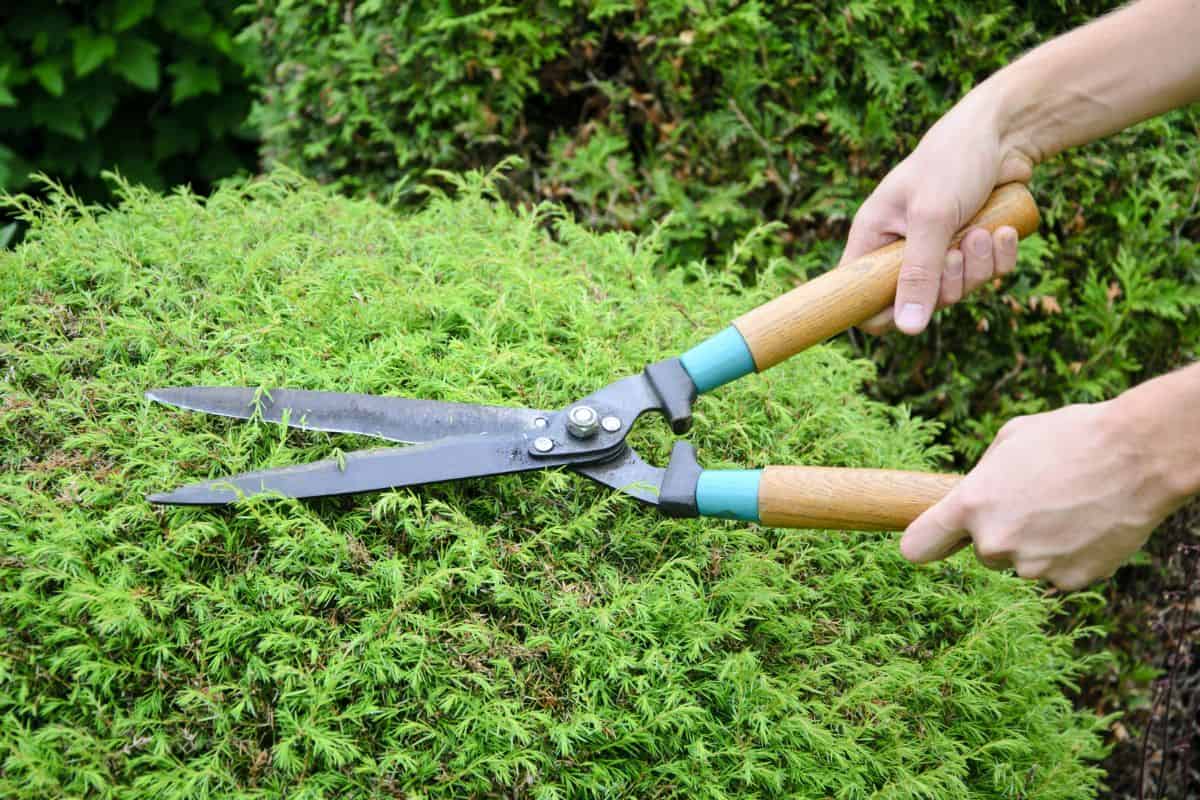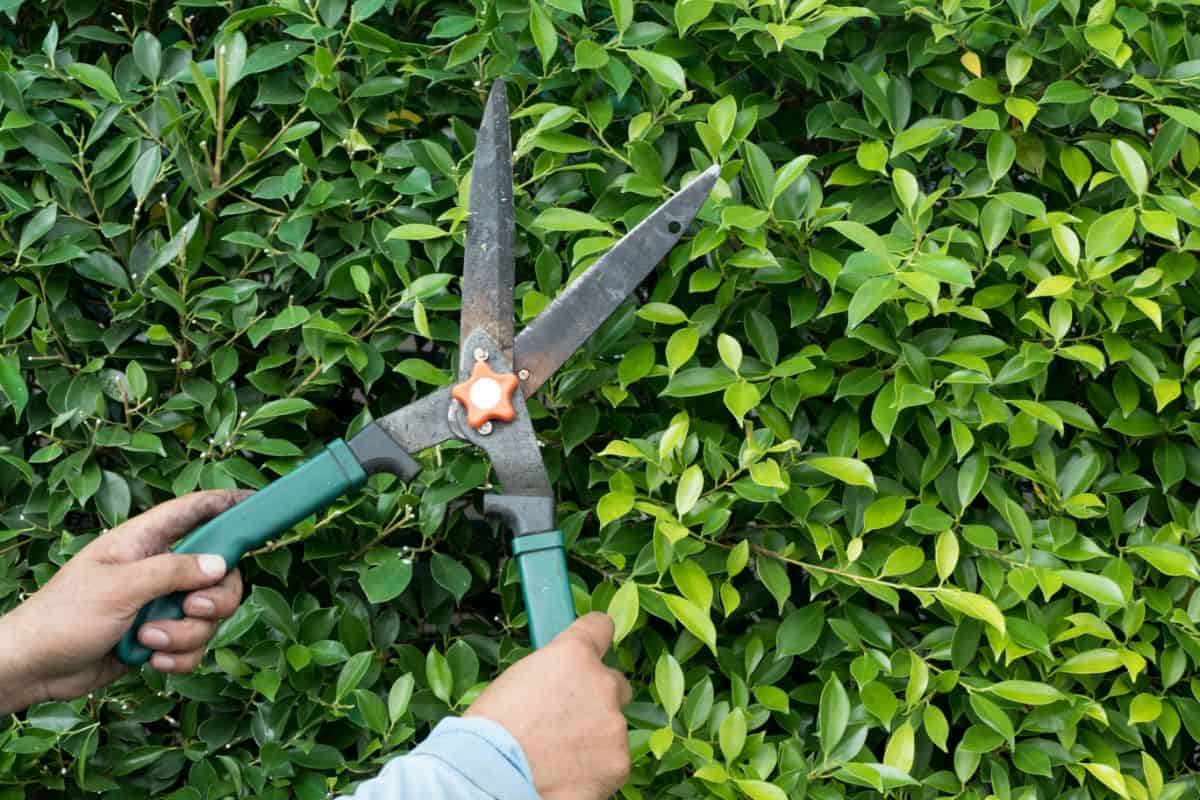
As an essential part of your succulent care toolkit, your hedge clippers are used pretty frequently. As a result of so much use, they can dull quickly. Thankfully, you can easily sharpen your hedge clippers at home and they’ll be as good as new!
If you’re of a do-it-yourself type gardener, you should have no problem sharpening them at home. However, if you have any doubts about your DIY skills, it may be best to take your hedge clippers to a professional.
Jump to:
When to Sharpen Hedge Clippers

The first sign of dull hedge clippers that you’re likely to notice is resistance when cutting. If you notice that you’re having to use more strength than you used to in order to cut through your succulents, it may be time for sharpening.
A good way to test the sharpness of your hedge clippers is to try cutting a regular piece of paper. If your clippers cut cleanly, you don’t need to sharpen them just yet. However, if the cut is rough or uneven, it’s definitely time to sharpen your clippers.
See Also: Best Hand Pruners in 2020
Dull clippers aren’t just an unnecessary strain on your hands, they can actually damage your succulents and cacti. Rather than leaving a clean sharp cut through your plant, the edges of the cuts will be ragged and may take longer to heal.
Supplies Needed for Sharpening
- Stiff brush or steel wool pad
- Soft cloths
- Vice grip
- Mill file
- Safety goggles
- Work or gardening gloves
Preparing Hedge Clippers for Sharpening
Before sharpening your clipper blades, you may want to disassemble them first to make the process easier. You can separate the blades from each other by loosening the pivot nut that joins them together. This is not a necessary step, but it makes sharpening easier and reduces the risk of accidentally hurting yourself.
Once you’ve separated the blades, you can begin cleaning them with your stiff bristle brush. The more dirt, debris, and rust you can remove from the blades, the sharper you’ll be able to get them.
No products found.
Depending on the type of brush you use, it may not be possible to remove rust. Brushes with metal bristles will do a better job of removing rust than those with plastic bristles. Steel wool pads also work well for rust removal.
Before sharpening your hedge clippers, you’ll also want to make sure the blades are straight. Look down each blade to check for dents or bends in the blade. If you do notice damage, you can try straightening the blades by placing them in the vice grips and bending them accordingly.
If the bends or dents to the blade are severe, you may need to have them professionally sharpened or even replace them. Use your best judgement to decide whether you should move forward with sharpening bent or crooked clipper blades.
See Also: Scissors vs. Gardening Shears
Sharpening Hedge Clippers

Your safety should always be your priority while sharpening your hedge clippers. Be sure to wear safety goggles at all times and protect your hands with heavy-duty gloves, such as leather-work or gardening gloves.
Examine the blades of your hedge clippers and see if you can locate the bevel. The bevel is the cutting surface of the blade and will be identifiable by the difference in angle to the rest of the blade.
Once you’ve identified the bevel, you can place the blade in the vice grip. Before sharpening, make sure the blade is held securely with the vice grip. If it slips out suddenly, you can be easily cut.
Using the mill file, gently file the blade along the bevel surface. Only file in one direction, from handle to tip. Back and forth motions will not sharpen the blade effectively, so file in long, smooth strokes. Pushing the file also works better than pulling.
After a stroke or two, check the blade. If the edge isn’t uniformly shiny, you’re holding your file at the wrong angle, so you’ll need to readjust and try again.
It shouldn’t take long to sharpen the blade, usually less than 10 to 12 strokes. The entire bevel of the blade should now be noticeably smooth and shiny when compared to the rest of the blade. This clean metal will become evident as you file.
Once you think you’ve sharpened the blade enough, you’ll need to check for burrs. Burrs are tiny bits of metal that may catch in the clippers, dulling or even damaging the cutting surface.
To check for burrs, carefully run a soft cloth along the freshly filed surface. Be sure to wear gloves to protect your hand from both the blade and the burs. If the cloth catches, you’ll need to file a little more to remove the burrs. If the cloth glides smoothly over the blade, you can move on to the other half of your clippers.
Once you’ve sharpened the second blade, you can reassemble your hedge clippers if you’ve taken them apart. Getting the right amount of tension in the pivot nut can be a challenge, so you may need to adjust it a few times before you get it right.
After reassembly, you can test your hedge clippers out by attempting to cut another piece of paper. If everything has gone according to plan, the clippers should effortlessly cut through the paper. If not, you may need to try again. If you’re not sure where you went wrong, it may be time to send them to a professional.
Care After Sharpening
After sharpening and reassembling your hedge clippers, you’ll want to oil the blades to keep them in good condition. Oil serves to protect the blades from rust and corrosion, which will keep them sharper for longer.
Some tool manufacturers recommended oiling your clippers after every use. If you’re trimming succulents with particularly sticky sap, this can help prevent the sap from sticking to the blades. Just make sure that the blades are as clean as possible before applying the oil each time.
The type of oil you should use on your hedge clippers will depend on the manufacturer of the tool. Each brand usually has a specific recommendation. However, since most gardeners don’t keep the packaging of their gardening tools lying around, using WD-40 or any other tool oil is a pretty safe bet.
The most important aspect of caring for your hedge clippers after sharpening is keeping them clean. Clean tools are less likely to develop rust and corrosion and you’ll be able to go longer periods of time between sharpening.
You Might Also Like:

